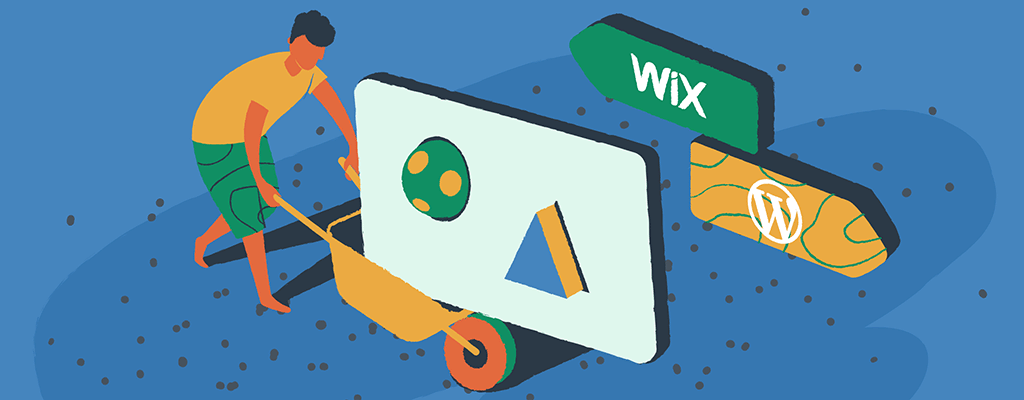
How to migrate Wix to WordPress: a step-by-step guide

You may need to move your website from Wix to WordPress for several reasons. For example, maybe you have an older Wix website that has served you well, but now you’re ready to take your business to the next level with e-commerce. Maybe you’re helping a friend who feels trapped by the limitations of Wix. Or, perhaps you’re just looking to save on website costs. Whatever the case, you feel it’s time for a migration.
WordPress gives you much more functionality and flexibility for your website than what Wix offers, as well as the ability to control your content and customize pages as much as you need.
Moving a Wix site to WordPress is not as difficult as you might imagine. In this article, we’ll introduce you to a few different routes you can take when making the switch.
Options for migrating from Wix to WordPress

You can take three routes when moving website pages, posts, and assets.
- Professional Services
Manually moving your Wix site to WordPress is an easy process but can be time-consuming if you have a lot of pages and blog posts. Migration services, such as CMS2CMS, will automate the process via plugins for a price.
Professional services specialize in quickly and accurately moving assets from one content management system to another. The migrations are often completed by a web developer using proprietary software alongside their own years of experience migrating sites. Because of this experience, the pros can often handle the job in minutes rather than hours or days.
Migration services are great if you have the budget, but for most smaller sites with only a few pages, you can migrate the content yourself for no extra money. All you need is time.
- RSS Feed & Plugin Method
If your Wix website contains a lot of blog or news posts, and you like the idea of saving money vs. paying for a migration service, this is a great option to explore. You may need to connect your Wix site manually to an RSS feed for newer Wix blogs. This only takes a few steps, and Wix has a step-by-step guide. After that, you can use the native post-import tool available in WordPress to get your content moved over.
Plugins like Import XML and RSS Feeds can also help you import content. You start by installing the plugin, uploading your source feed, and directing the plugin on handling the import.

Some users report issues with these types of tools since the content isn’t handled the same from one CMS to another. Patience and skill are required to ensure your content formats properly.
- Manual Migration
Yes, the word “manual” often means “time-consuming,” and that is somewhat true for moving Wix to WordPress. However, remember that building a high-quality website takes time and attention to detail. Manual migration is the only way for those looking to save money or who like to maintain maximum control over their website content.
For the rest of this post, we will guide you through the ins and outs of manual migration.
Preparing for the move
You can take some planning steps to make the transition as smooth as possible. First, you should make sure your current Wix site is up-to-date and optimized as much as possible. Take this as an opportunity to make your site as good as it can be before migrating it to WordPress. Fix broken images and remove outdated content as needed.
Next, take note of all pages and posts published on your current website. You can quickly get a list of all pages by viewing your XML sitemaps. This helps you create a checklist to ensure all content makes it to the new WordPress site. You’ll also need an accurate list of the URLs used for each page so that you can create the same URL structure in WordPress.
Assess all of the elements of your Wix site, and make notes about everything you want to maintain, remove, or improve during your move to WordPress. Resources to consider include:
- Pages
- Be familiar with all of your top pages, and which are most important.
- Menus
- Take notes about all site menus, such as the top navigation and footer links.
- Posts
- Keep track of categories and tags.
- Products
- For e-commerce stores, ensure you have exported full product details or can access them in a different database.
- Media
- You’ll need offline access to all media files saved to Wix. Remember that Wix sometimes uses licensed stock imagery, which may need to be replaced for your WordPress site.
- Meta titles & descriptions
- Don’t forget to re-populate all metadata during migration.
- Google Analytics codes
- Save your Google Analytics UA code, or use this opportunity to upgrade to GA4.
- Contact Forms
- Contact forms must be reconfigured in WordPress, so note your delivery email addresses and distribution lists from Wix.
- Redirects
- Older 301 redirects must also be migrated to WordPress to avoid losing referral traffic.
Now that you’ve got a blueprint of your old site, you must now confirm where your domain name is hosted. If Wix is your domain host, you’ll need to transfer your domain to another provider, such as Namecheap. This allows you to retain your domain name and connect it to your new, non-Wix hosting service.
Once these notes are complete, you can follow the steps below to move from Wix to WordPress.
Step 1 – Secure your WordPress hosting plan
You’ll no longer need Wix hosting services once your migration is complete, but you will need a new WordPress hosting subscription. Our EasyWP Turbo hosting tier is cheaper than Wix’s most basic plan and includes a free CDN and free SSL security. This will likely be the best option for most people, but be sure to compare for yourself so you can get the hosting plan that best fits your needs.
This video will guide you through the complete process of getting started with EasyWP.
Step 2 – Save your content from Wix using the Save As option in Chrome
You’ll need to save all of your content, including pages, blog posts, images, and any other content you’ve created on Wix. The fastest way to do this is by using the Save page as option in Chrome or another browser.
In Chrome, this option is found by right-clicking on the page or clicking on More tools from the Customize and Control Google Chrome settings in the upper right-hand corner of the window.
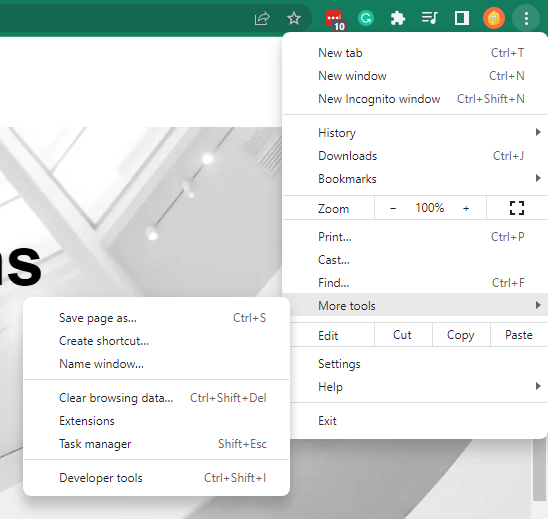
This will download an HTML file that contains the content you have created and gives you a local copy of your pages.
You can open these files in a text editor or web browser later. Manually saving your pages also safeguards you against losing information if your Wix subscription expires before your WordPress migration is complete.
Step 3 – Export blog posts from Wix using RSS feed
As mentioned before, when you’re migrating a blog, you’ll need to export the blog posts. This is done by downloading the RSS feed, then importing that RSS file into WordPress.
If RSS feeds are enabled in Wix, you can find the feed file at username.wixsite.com/yourwebsite/blog-feed.xml, where “username” is your Wix username and ‘yourwebsite’ is the name of your site. Right-click anywhere on the page with the code, select the Save As option and save the file to your computer:
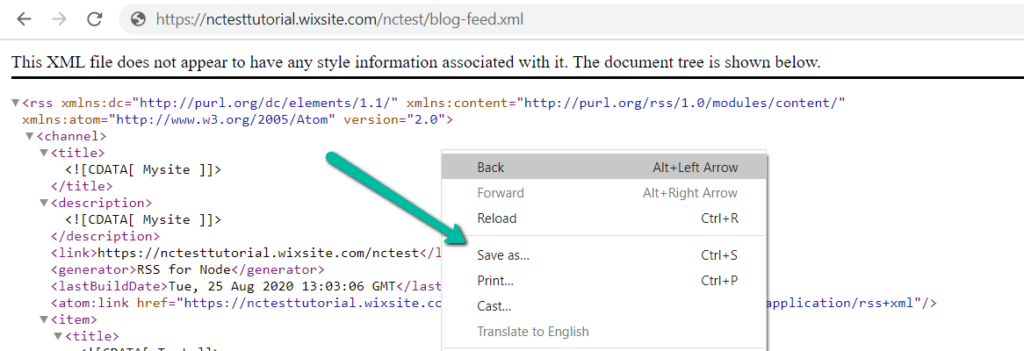
For a complete set of instructions, visit our Knowledgebase.
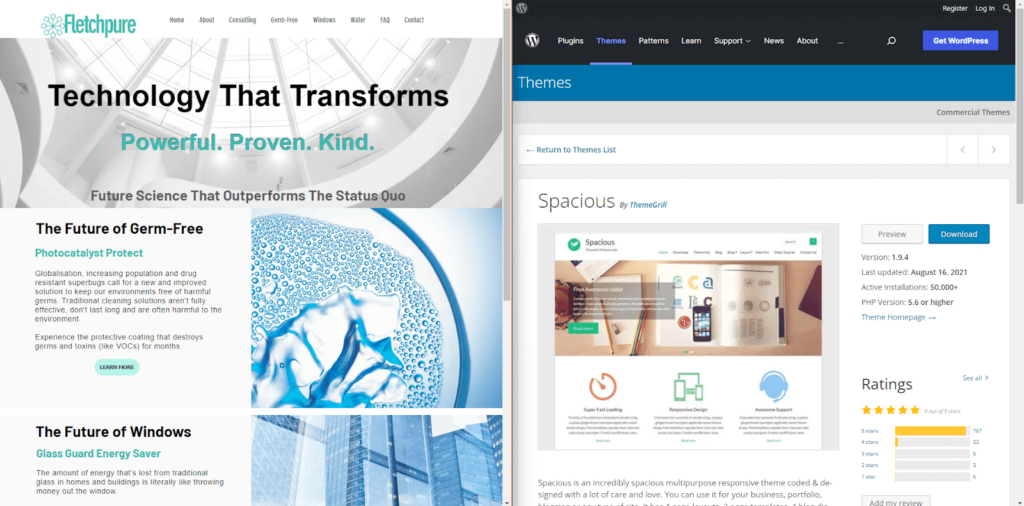
Step 4 – Pick a WordPress theme that suits your needs
The next step is to pick a WordPress theme that will suit your needs. You can do this by searching for popular free WordPress themes, or browsing through the selection of premium themes. You’ll notice right away that finding an exact match for your Wix template in the WordPress theme store is tricky, so it takes time to review multiple options.
It’s likely that with some effort, you’ll find a WordPress theme that is very comparable to your old Wix theme.
Key areas to make note of are:
- Logo location
- Top navigation style
- Default font similarities
- Page layout similarities
- Free features vs. premium
The WordPress ecosystem offers thousands of additional options you can’t get with Wix, and most modern themes are endlessly customizable. But finding a theme that already meets your needs saves time upfront, and ensures you can easily grow your site in the future without having to customize each page individually.
At EasyWP, we also enjoy the flexibility of page builders such as Brizy, which maximize the options available for your pages. As you search for themes, look at screenshots, example websites, and do a live preview until you find the right choice. And don’t forget, you can always swap out for a different theme.
Step 5 – Import and format all content pages using the WordPress block editor
The next step is to import all the content and format it using the WordPress block editor. The fastest way to do this is by using the Copy and Paste method.
As you create pages and posts, it’s vital to ensure that your old Wix pages’ URLs are identical to those you create in WordPress.
The initial paste
Copy the text and images from your Wix site, and paste them into the WordPress page editor. Once you have the content, you’ll need to format it. You can do this by adding and converting blocks to elements such as:
- Headings
- Paragraphs
- Collumns
- Groups
- Lists
- Quotes
- Images
- Gallery
- Media & Text
If you’re not familiar with the WordPress Gutenberg editor, then I’d recommend checking out our article on how to use blocks in WordPress. It will give you an idea of what’s possible when formatting your pages.
Headings and paragraphs
When you copy text from Wix and paste into WordPress, you’ll want to check the formatting. All headings should be formatted within Heading blocks. When a heading is pasted in as paragraph text, click the Icon at the left end of the floating menu, and transform the text to a Heading.
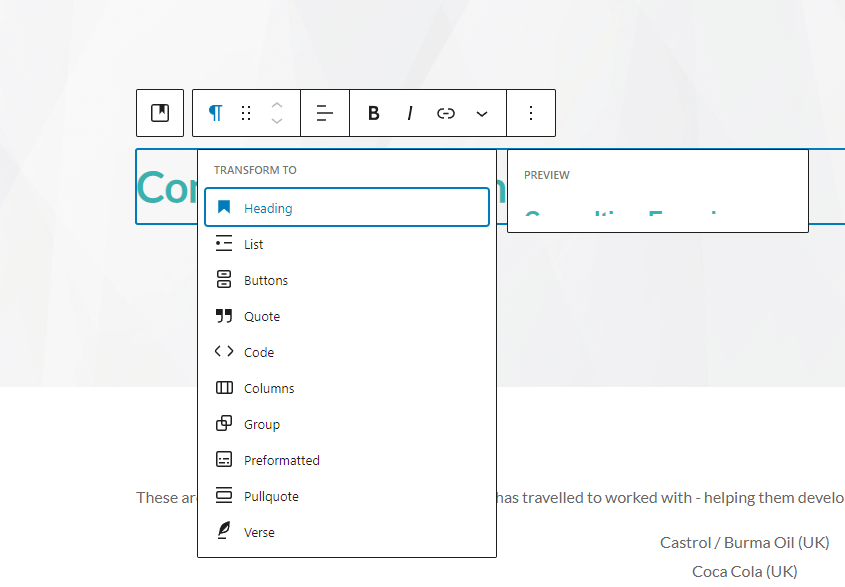
Likewise, if a paragraph is initially formatted as a heading, quote, or list, use the same process to transform into a Paragraph.
As you go through each page, use the Preview option in WordPress to visually compare your new and old pages and adjust as needed.

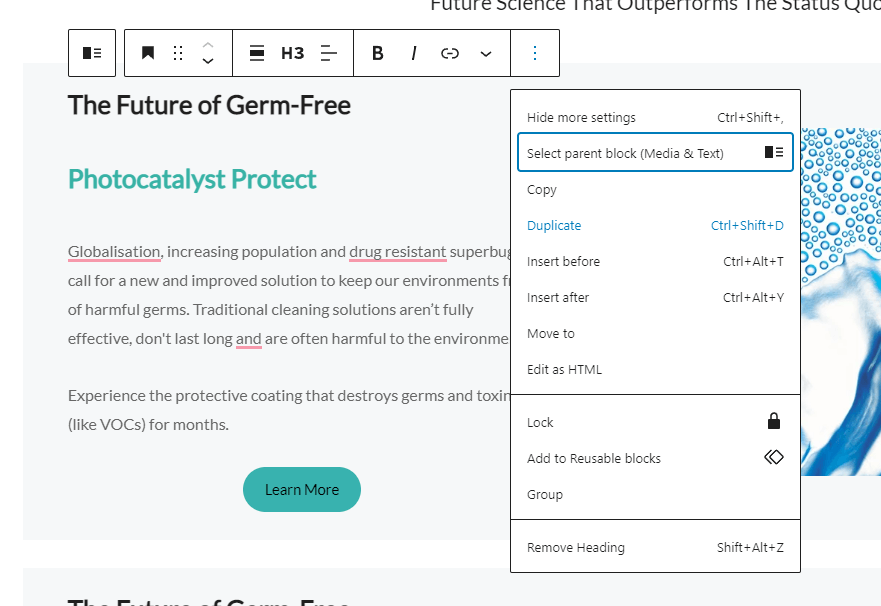
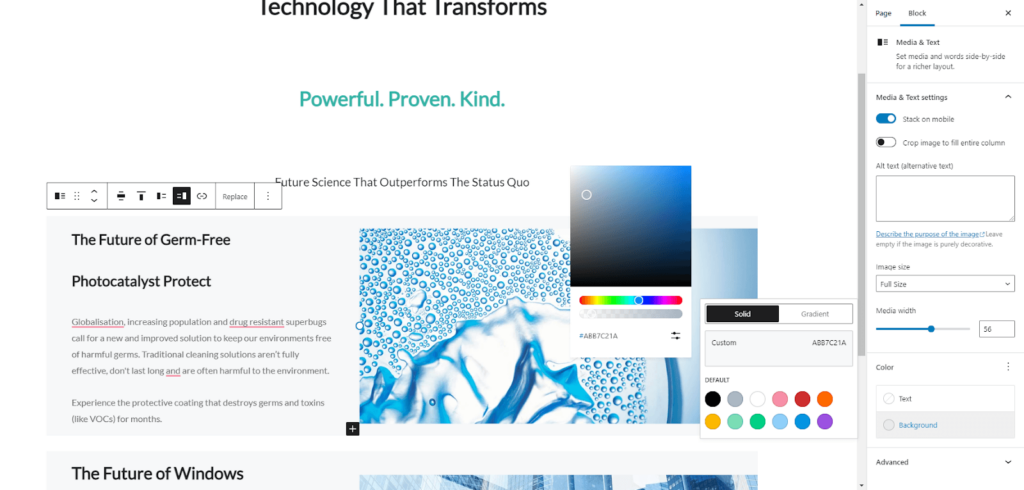
You may also need to convert pasted text blocks to Media & Text blocks to align your content correctly. The Media & Texts blocks system in WordPress operates very differently from Wix, but WordPress offers a thorough guide to understanding this powerful, flexible tool.
Lists
When lists are pasted from a Wix site into WordPress, assess whether you need a numbered Ordered List, or an Unordered list with simple bullet characters. Use the floating bar to make your selection if the list was not formatted automatically.
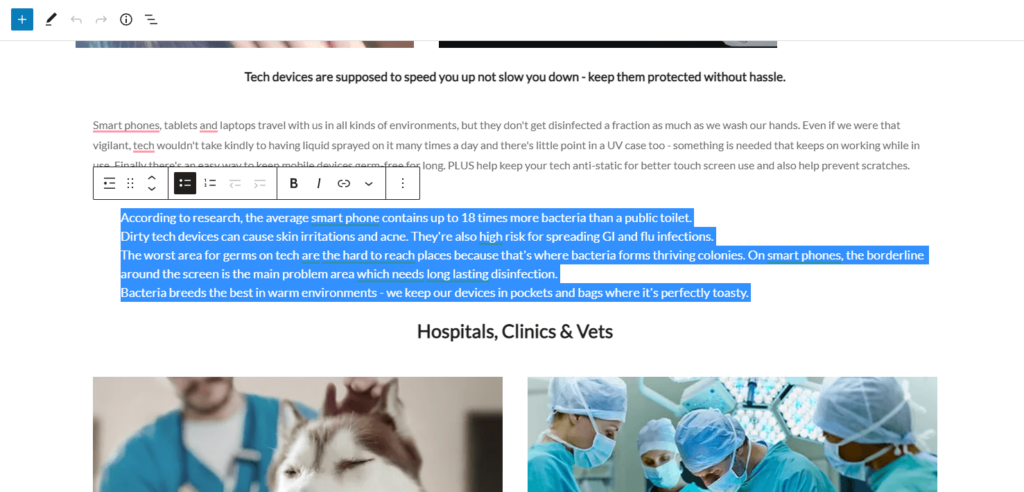
Image galleries and videos
Photographs, illustrations, and videos are essential to your pages, and formatting them properly is crucial when migrating a site. Even though you’ve already pasted the images into the editor, you’ll need to replace them using the Media Gallery.
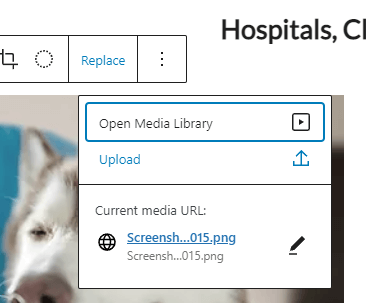
Images must be replaced because when they are simply pasted, WordPress will use the old Wix-hosted image URL by default. Click on the image you want to edit, then click Replace in the floating toolbar.
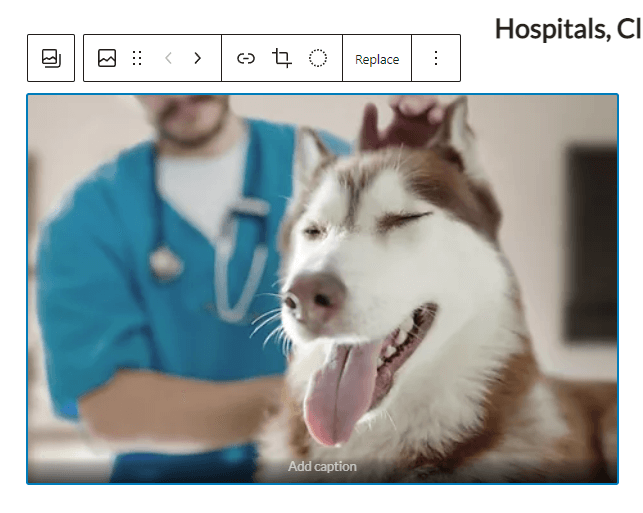
Next, Upload the image file you previously saved to your hard drive. This will create a new copy of your image on your new WordPress hosting server, ensuring that it’s no longer associated with the old site in any way.
Buttons
Compare your new WordPress theme’s default button formatting to how your buttons were styled in Wix. Most likely, you’ll need to update the text, links, and color of each individual button.
To change, click on the button within the editor, then look at the Block settings on the right-hand side of your browser window. Use the color and typography settings to adjust your button as needed.
While your button is still highlighted, check the hyperlink to make sure it will direct users to the correct page on your new site.
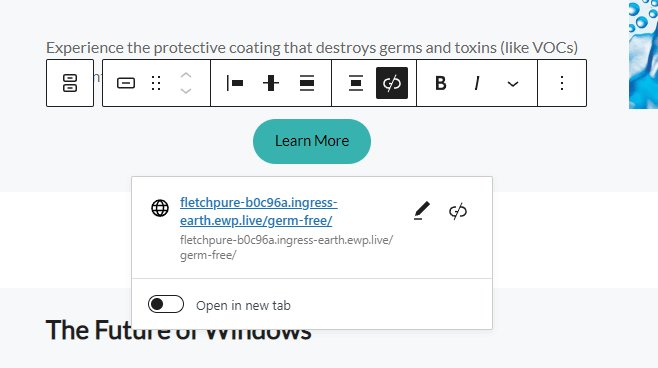
If your URLs are not changing (and as we said earlier, it’s best to keep them the same), you should be fine. But when your page URLs change for some reason, all buttons must be updated.
You will need to repeat these steps for every button on your website, and it’s crucial to be thorough.
Forms
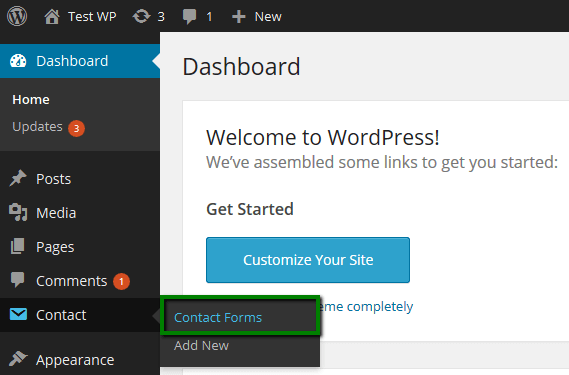
Your form settings in Wix will not copy over, no matter which migration format you choose. In WordPress, you’ll need to install a form plugin that suits your needs. Brizy has contact form integrations, but there are many options available. Contact Form 7 is one of the most popular WordPress contact form plugins.
Once installed, you can manage it in the WordPress Dashboard > Contact > Contact Forms > Edit. Use your form settings notes from your old site to set up your new
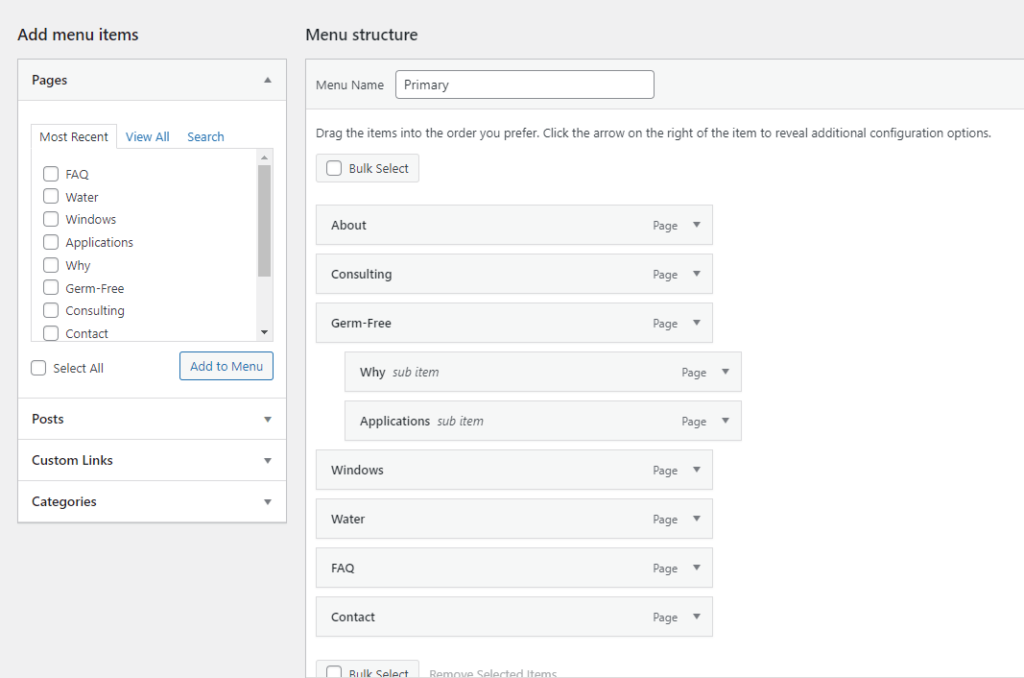
Menus
WordPress menus are highly customizable, even when you’re using free themes. Navigate to the Appearance settings, choose Menus, and edit your Menu structure. It’s crucial to check your old site to make sure all linked items in the navigation appear in WordPress.
Menus are adjustable by dragging pages up and down to change the order in which they appear. If you want a secondary page to appear beneath another primary page, simply drag it slightly to the right.
Third-party plugins and code
While WordPress offers a great deal of flexibility thanks to countless plugins and themes, it might not have the specific functions you’re looking for. For example, when you want to integrate a customer reward program, pop-up chat widgets, or advanced analytics, you may need to add custom code.
Luckily, WordPress makes it quite easy to edit code and make the necessary changes for your project. Refer to our complete guide to learn more about custom HTML, CSS, and PHP.
Step 6 – Connect your domain name to your website
This step is pretty simple: connect your domain name to your website by adding the information from your Namecheap account or another registrar. With EasyWP hosting, this is even easier through our customer dashboard.
The instructions might differ depending on which registrar you use and which hosting package you choose. Since you’ve already mapped out your URL structure, everything should be in place as soon as the domain is active.
Getting to know your new CMS
While the process of moving your Wix site to WordPress takes time, the benefits of migration will begin almost immediately. Your new site will have more capabilities and flexibility than ever before. You may have many questions at first, but fortunately, there are over 200 million pages of WordPress resources at your fingertips.
Let us know if you have additional tips on moving a Wix site to WordPress. We’d love to share your insights.
More articles from us!
