How to install and set up WooCommerce (a quick guide)


WooCommerce is the most popular WordPress e-commerce plugin for a good reason. The free plugin’s flexibility allows everyone, from business owners selling on-trend beauty products to budding authors launching their latest eBook, the chance to propel their brand into the digital stratosphere.
You don’t need to rely on an expert freelance consultant to get you up and running. By following our step-by-step guide, you can set up WooCommerce by yourself in just a few hours. Actually, in my case, I had the basic setup complete in just one hour and 30 minutes (with no tantrums or keyboard casualties!)
Ready to follow along? Let’s go.
Install WooCommerce step-by-step
Installing the open-source plugin is your first step toward becoming a WooCommerce expert.
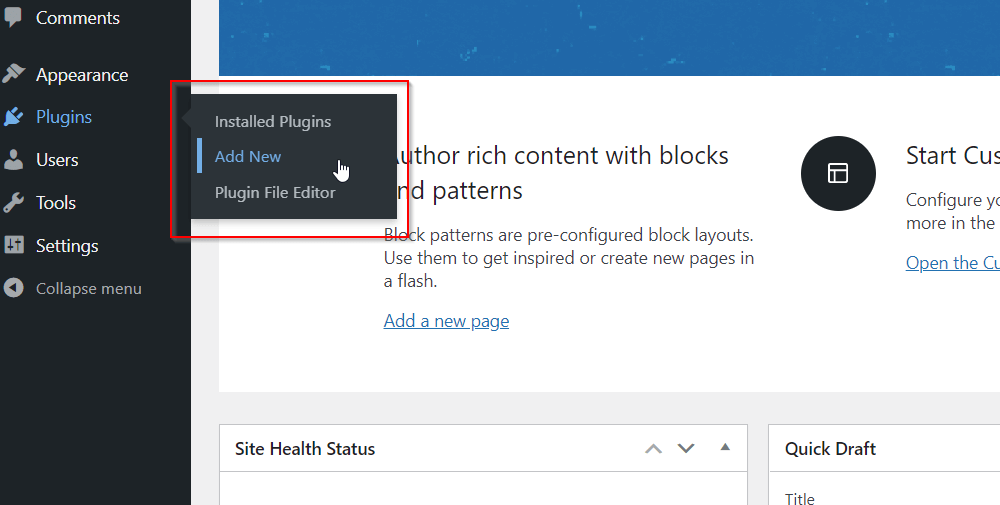
From your WordPress Dashboard, go to Plugins > Add New. Type “woocommerce” in the search box and WooCommerce should pop up as the first result.
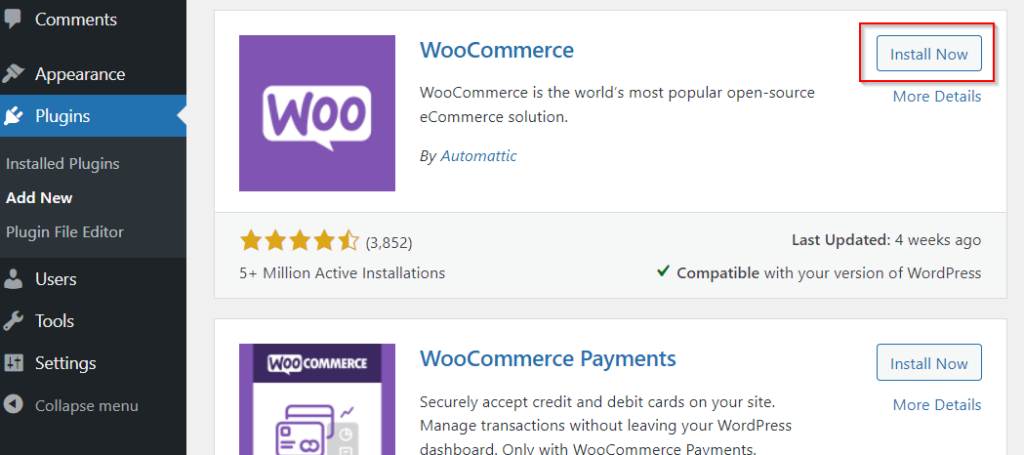
Click Install Now to initiate the plugin installation, and after a short while, you’ll see the button will change to Activate.
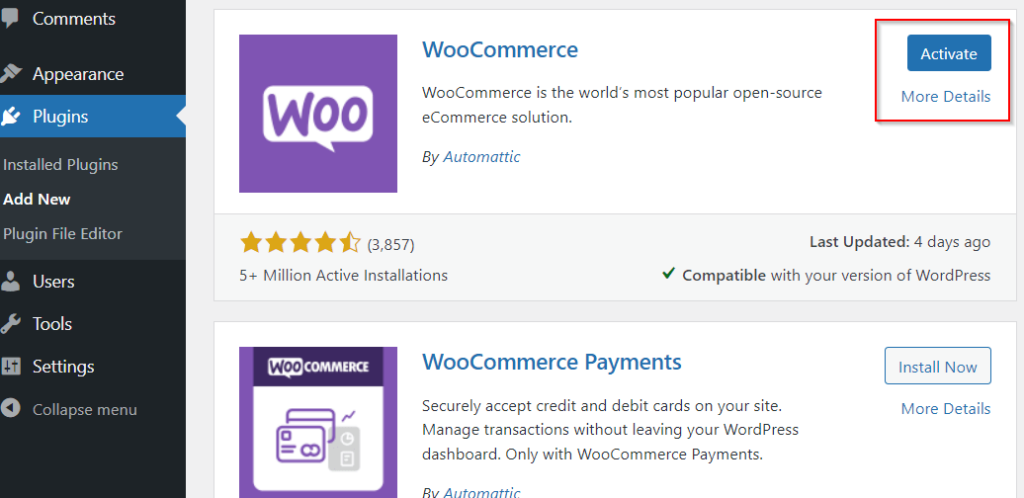
After clicking Activate, you’ll be taken to a step-by-step WooCommerce setup wizard. Let’s go through each of these steps now.
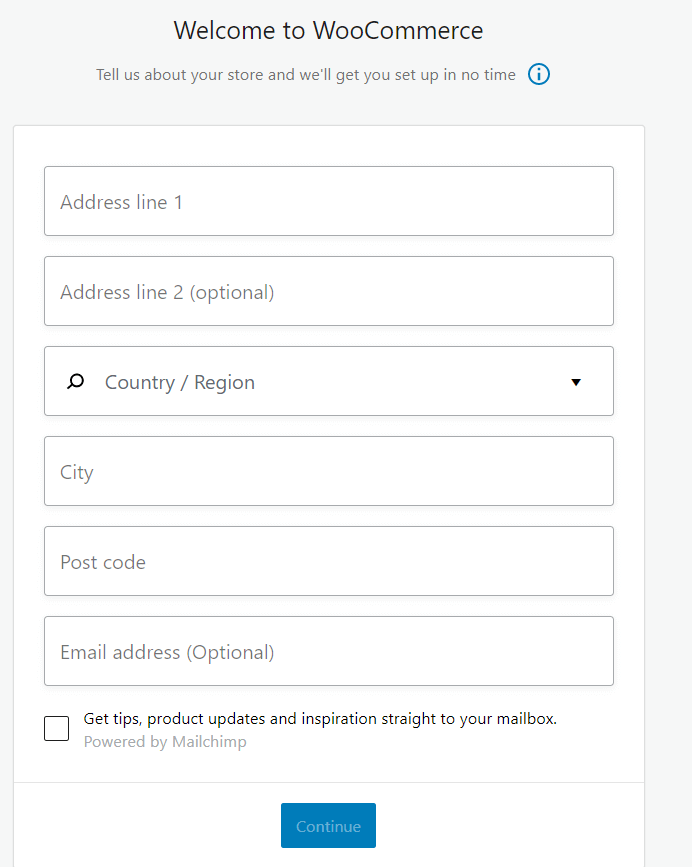
- Welcome to WooCommerce
You’ll need to enter some initial details about your store on this page, including address, country, city, and email. Click Continue when you’re ready to proceed.
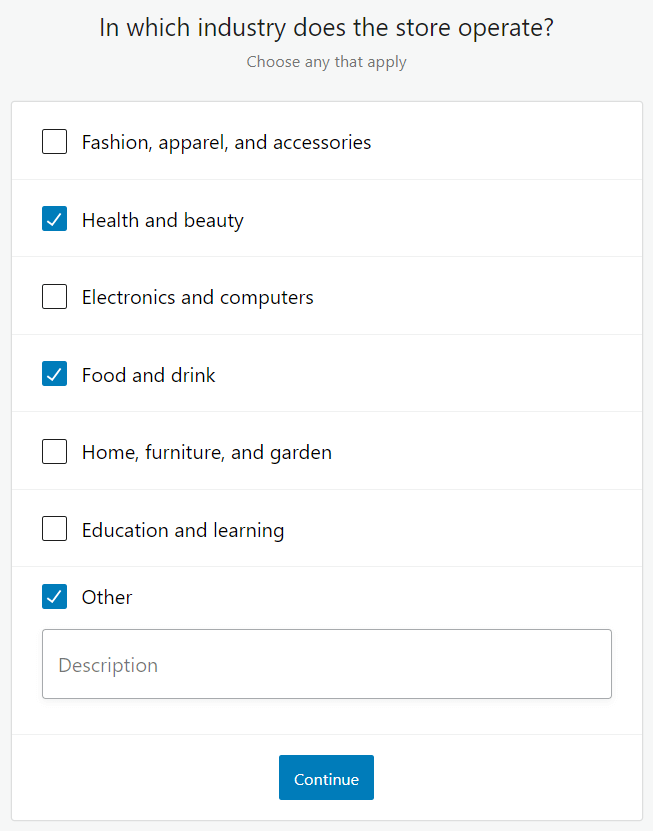
- In which industry does the store operate?
In this section, you can pick one or more industries related to your store. If your industry isn’t listed, you can select Other and add a description. As before, click Continue when you’re ready.
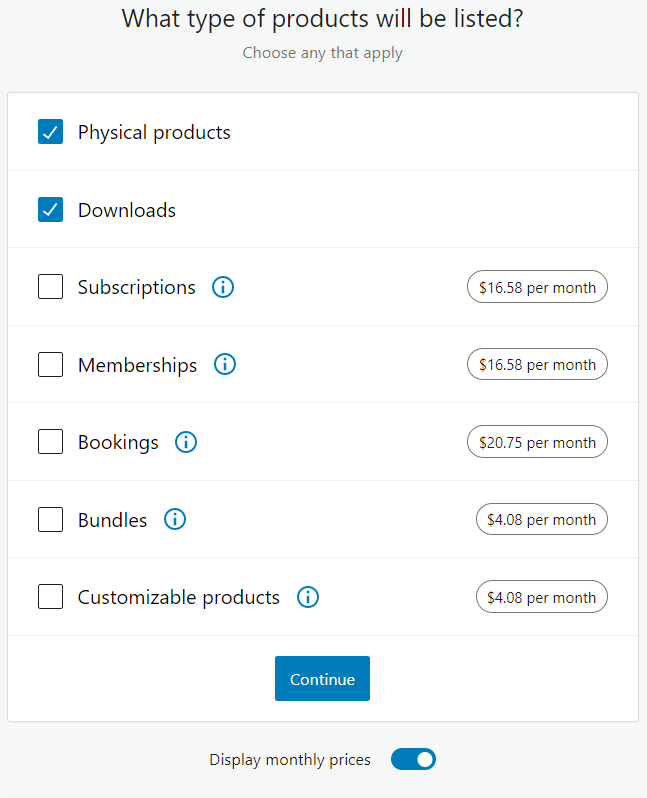
- What type of products will be listed?
WooCommerce allows you to sell various products, from physical products to subscriptions. Select which products you want to sell from the options listed. Again, you can pick one or more. Some options are paid, and the prices are displayed next to the relevant product type. Use the toggle below the box to switch between seeing monthly or yearly pricing.
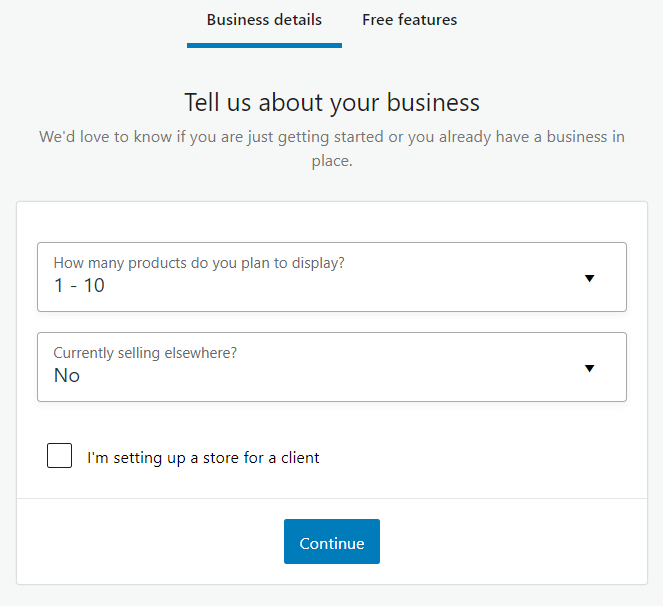
- Tell us about your business
Next, it’s time to provide details about how many products you plan to display from the list of ranges. If you don’t have any products yet, you can choose I don’t have any products yet from the drop-down menu. You also need to let WooCommerce know if you’re selling products anywhere else and whether you’re setting up a store for another client.
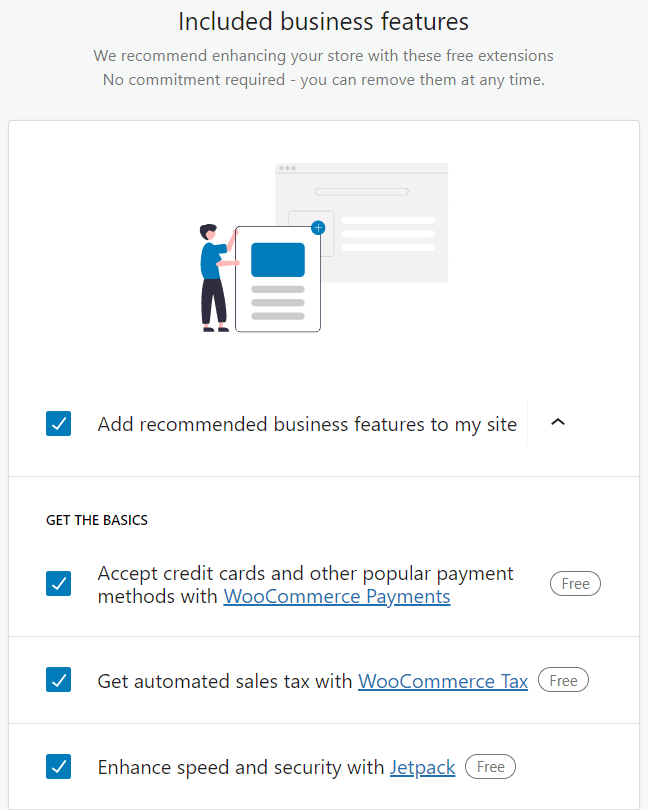
Pro Tip: In the Free features tab, you can add free WooCommerce extensions to your store. They’re entirely optional, but they can be useful, so don’t be afraid to tick them all (you can always remove them later).
- Choose a theme
Although the flexibility of WooCommerce enables you to use any WordPress theme, you can optionally choose a dedicated theme with a style that has been specially optimized. The free Storefront theme, which you’ll see right at the top of the All themes tab, is the default option and ideal for getting you up and running.
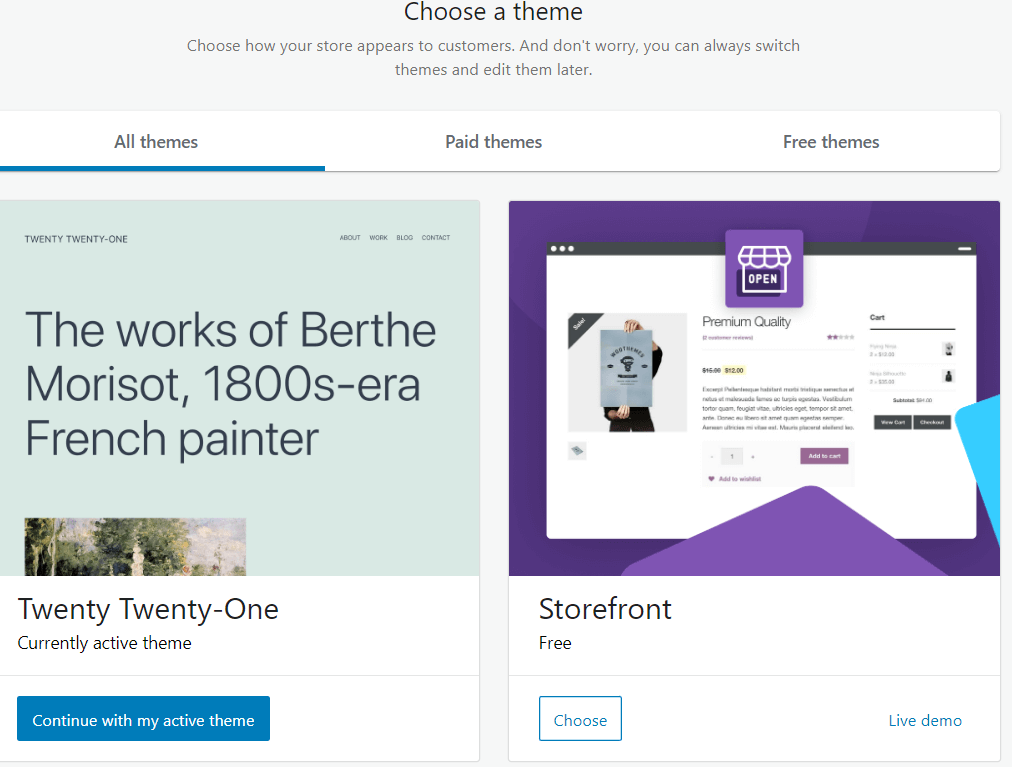
When you’ve decided on what theme to use, click Choose to continue.
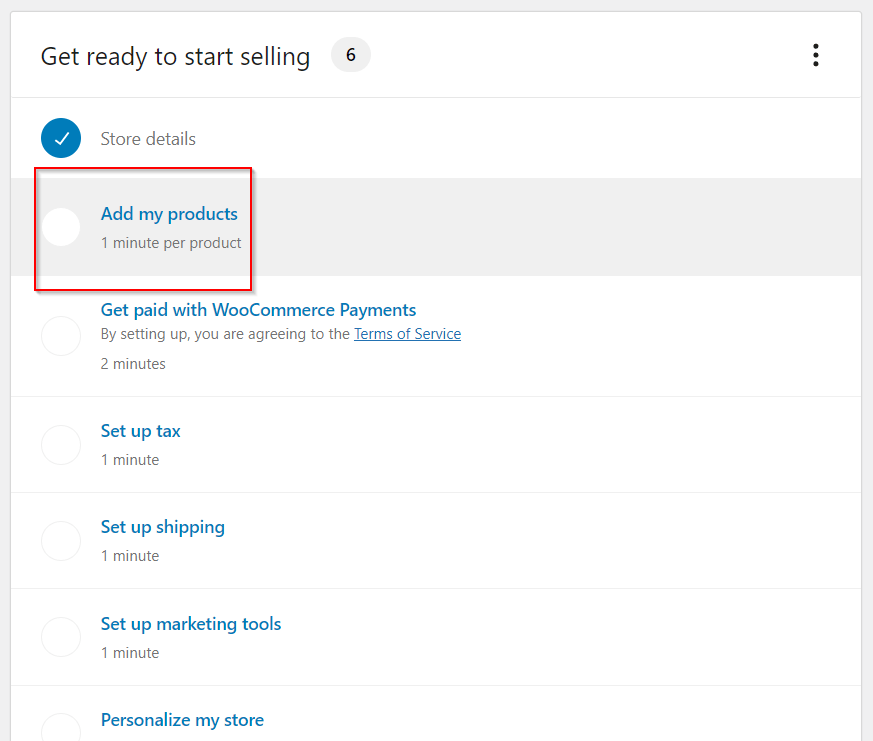
WooCommerce setup checklist
Now that the initial setup is complete, you’ll be presented with a list of suggested tasks to configure your store and prepare it for launch fully. If you want to edit the store without using a wizard, you can click the three dots and choose Hide this.
Choosing your payment gateways
Before doing anything else, it’s a good idea to set up your payment gateways. This is one of the most fundamental parts of any e-commerce store setup – as without payment methods, customers won’t be able to purchase anything.
Navigate to WooCommerce > Settings and click the Payments tab to start setting up your payment gateways.
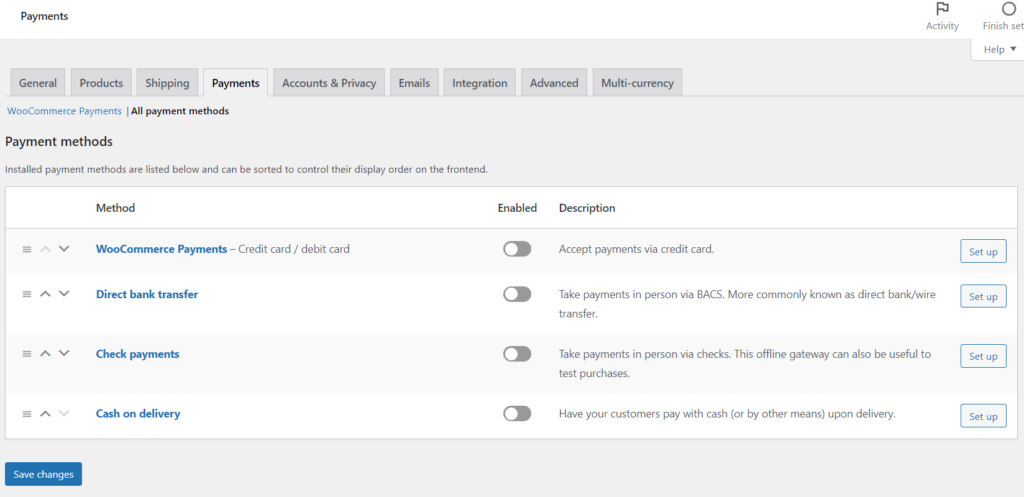
Although WooCommerce includes several payment platforms to choose from, most of your potential customers will at least expect to see PayPal and Stripe, so it’s recommended to at least set up these.
In the Recommended ways to get paid window, click Get started to connect your accounts and set up the relevant gateways.
Adding products to your store
Adding your products (whether digital or physical) is an exciting step and is where your store truly comes into its own.
To get started adding products to your store, navigate to WooCommerce > Add my products.
The recommended and most straightforward way to start adding products is to choose Start with a template.
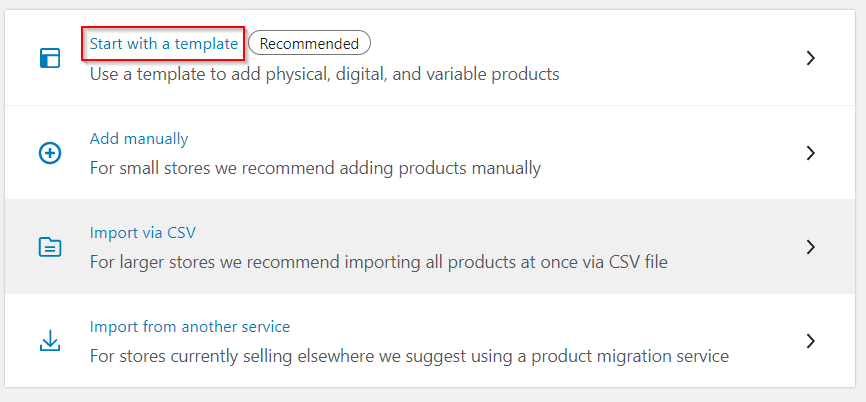
Before commencing, a window will pop up which will ask you to specify whether you’re selling physical or digital products (or a variable product with several versions). Click Go when you’re ready.
You’ll now be presented with a WordPress content editor, where you’ll be able to edit various attributes relating to your products. Let’s go through the options step-by-step.
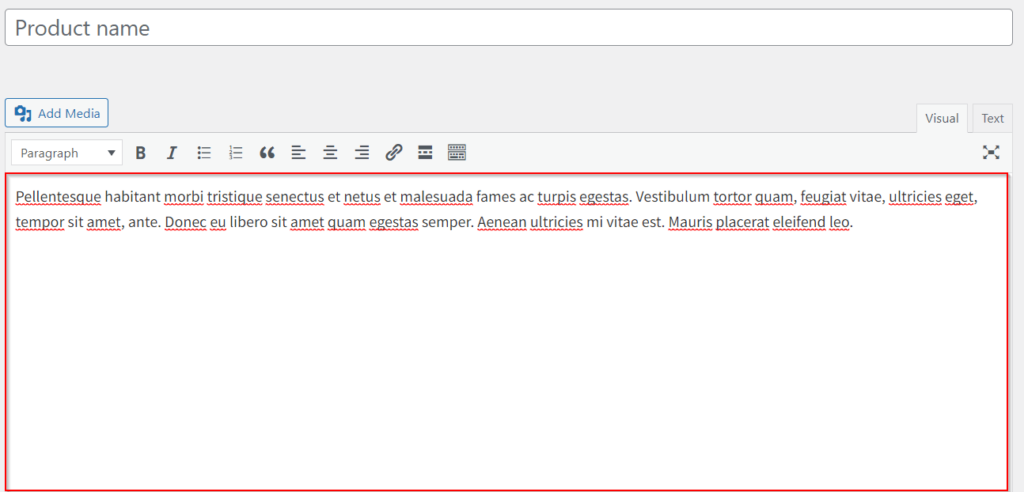
- Product name – a compulsory field that is self-explanatory. Enter your product name here.

- Product description – a large flexible field that allows you to place more than plain text. Feel free to add images, headings, and even videos.
- Product data
- Simple product is ideal for most physical goods and services and is the default option.
- Grouped product is for grouping several simple products into one.
- Variable product is for more complex products such as t-shirts in multiple sizes.
- External products are for linking off-site.
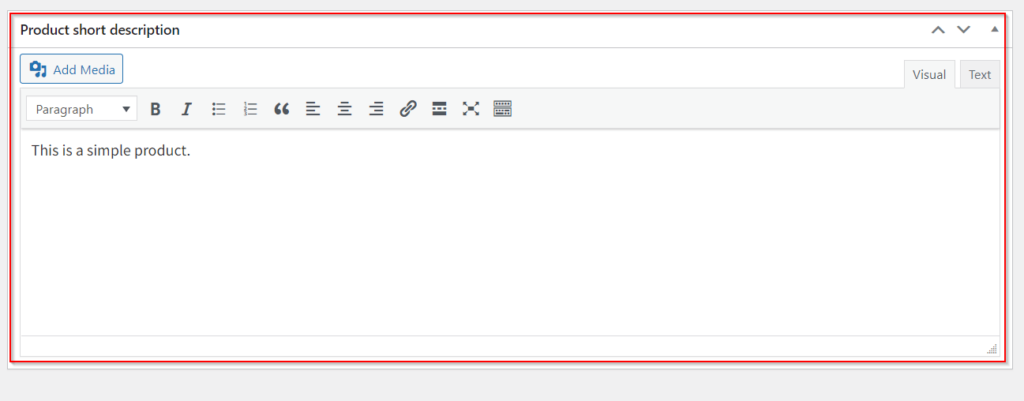
- Product short description – Not to be confused with the main product description, this smaller piece of text provides the reader with a short summary of the product and is displayed under the product name.
- Product categories – This is where you can group similar products together. If you’re familiar with WordPress categories, this works in a very similar way.
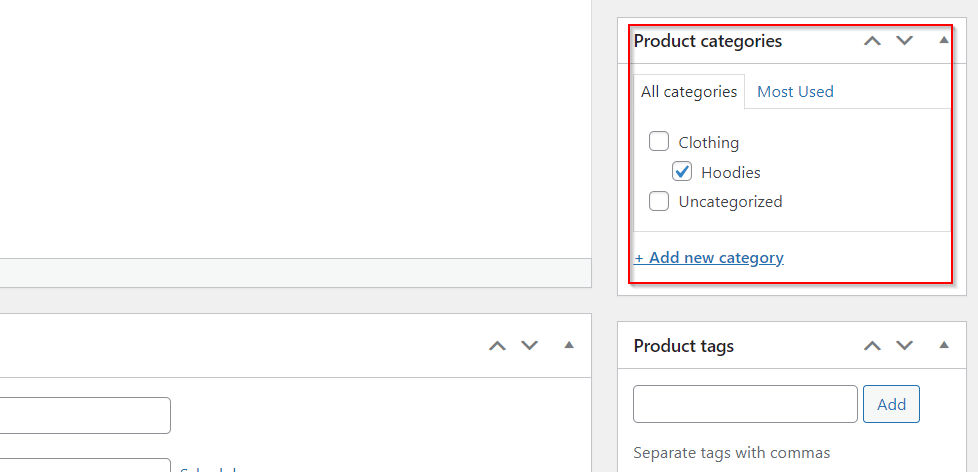
- Product tags – Help your visitors discover what they’re looking for by using product tags.
- Product image – Measured and set in pixels, images are where your products come alive. Click Set product image, and you’ll be able to drop or upload files from your device, and organize them in the Media Library.
- Product gallery – Showcase your products from all angles. This is where you can add additional product images.
When you’re happy with the product settings you’ve made above, click Publish. You’ve just added your first product!
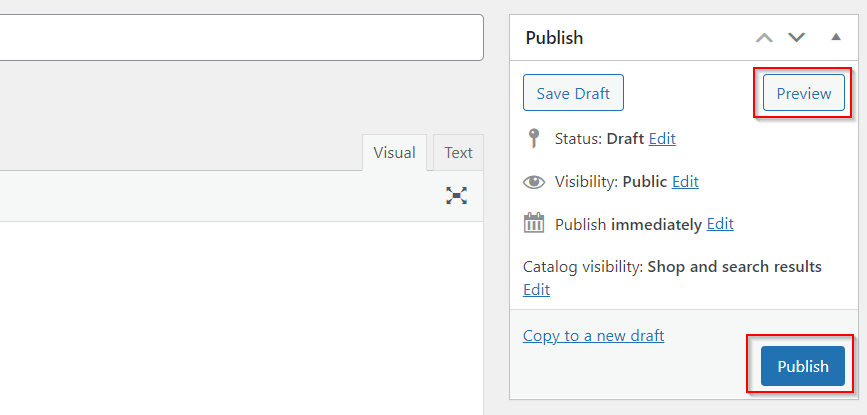
Pro Tip: Ready to see what your shop looks like? Click Preview and get a glimpse of what the outside world will see once your website goes live.
Choosing how your products are displayed
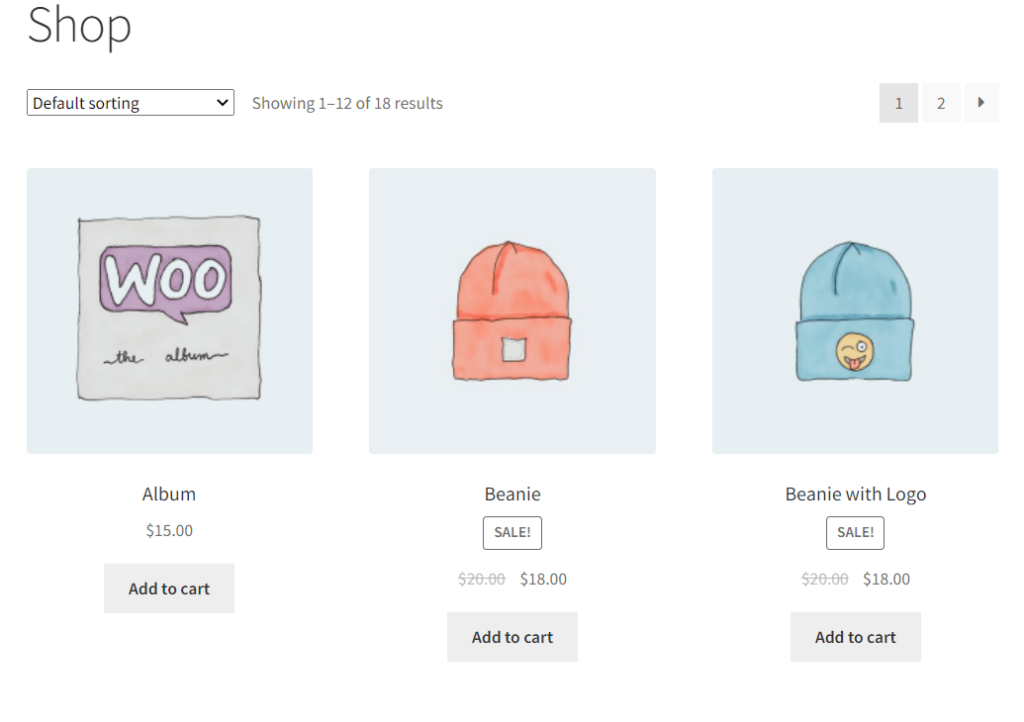
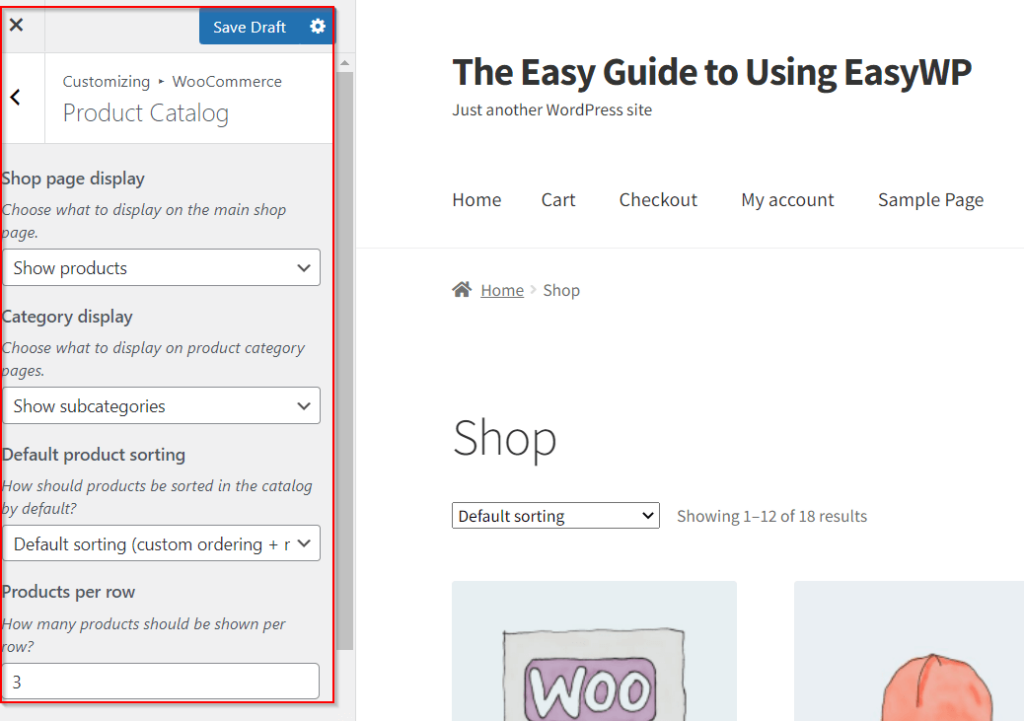
Now that you have an idea of what your store will look like to potential customers, you can further customize your store using the Customize feature. As you can see, this is a standard WordPress page.
Choosing how you want your product images to be viewed by visitors should be one of your first considerations. To discover new ways to display your products, navigate to the left sidebar, and click WooCommerce > Product catalog. You’ll be presented with a range of display options, such as whether you want to display individual products or product categories on the shop page. Try out different display settings and see what works for you.
WooCommerce extensions
Installing and setting up WooCommerce is just the start of the endless possibilities available via hundreds of free and paid extensions for this popular e-commerce plugin.
In addition to extensions you may have installed during the initial WooCommerce setup process, let’s look at some more that can transform your online shop.
WPForms
A highly popular form builder, WPForms allows you to build all types of forms for your online store, such as registration forms, payments, quotations, login forms, and more. Want to understand more about your customers? WPForms enables you to gain valuable feedback in custom surveys and polls. What’s more, the plugin offers over 100 secure templates that have been optimized for mobile devices.
CartFlows
One of the most challenging aspects of running an online business is understanding how to build a successful sales funnel. CartFlows is a powerful design tool that allows you to channel prospects towards purchase by using sales funnel templates.
Doofinder for WooCommerce
Doofinder is an ideal WooCommerce plugin if you want results, fast. You’ll receive powerful insights into what your customers are searching for, allowing you to optimize your store to suit their specific needs.
ProTip: Understanding your consumer’s purchasing intention is vital for increasing sales and improving the overall customer experience.
Set up WooCommerce in no time
We’ve come a long way from needing to hire expensive developers to create our online stores. Today, powerful plugins like WooCommerce uncomplicate your e-commerce plans, putting complex tech beneath the surface with easy-to-use tools at your fingertips.
As you’ve seen, installing and setting up WooCommerce can take as little as one and a half hours (That’s around the same time it takes to watch two episodes of Breaking Bad!) Before long, you’ll be one giant step forward to building the online store of your dreams.
More articles from us!
