How to create a WordPress gallery in minutes


As the old saying goes, a picture is worth a thousand words. The same is true for your website content. Images add color and life to posts and pages and boost user experience.
But what about when you want several images. As you upload one image after the other in WordPress, they start to look a bit strange. Stacking on top of each other and burying the content below.
To avoid this, WordPress has made it incredibly easy to add a gallery to display images as thumbnails or in a neat grid layout to show you photos using much less space and making it easier for your visitors to browse through.
This post will cover how to create a WordPress image gallery using the two most common techniques. Let’s get started.

Create a WordPress Gallery
Before we get started, we recommend installing the newest version of WordPress. With the new block editor, adding a gallery is much simpler than it used to be using the core WordPress gallery functionality. Thank you, Gutenberg! The time-saving photo gallery block is now part of WordPress core, and you’ll have it automatically if you’re running version 5.0 or later.
- Start by choosing whether you want to add a gallery to an existing page, or create a new page.
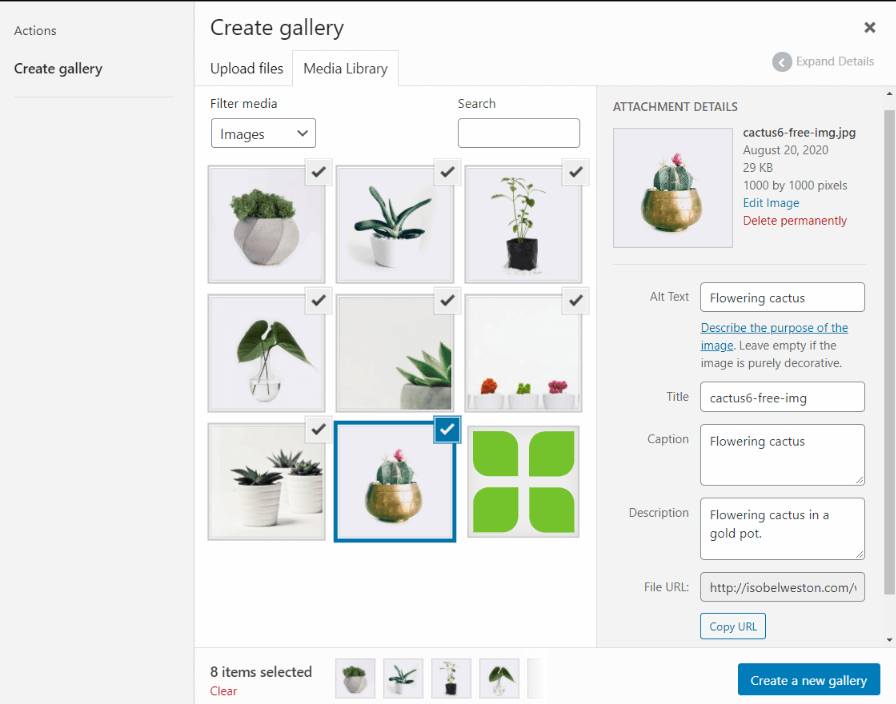
- Now click the blue ‘+’ button to create a new block. Scroll down to Media and click the Gallery icon. You’ve got two options here: upload images from your computer or use images you already have in your media library.
As you upload and/or select images, a checkbox will appear at the top corner of each thumbnail. It may take a few moments to upload your photos depending on their size, and your internet speed, and the number of images you’re uploading.
Tip: If this process is taking too long, you might pause step two for now and optimize your images before putting them up on your site. — While it’s tempting to add high-resolution graphics to show off media in its full glory, they’re often too heavy and will slow your site down.
Your best option is to compress your images, through ‘image optimization,’ the quality will stay intact. One quick solution to help with this is the browser-based service TinyPNG:

- Once you’ve added your images to the Media Library, you can click Create a new gallery to move to the next step.
Edit Your WordPress Gallery
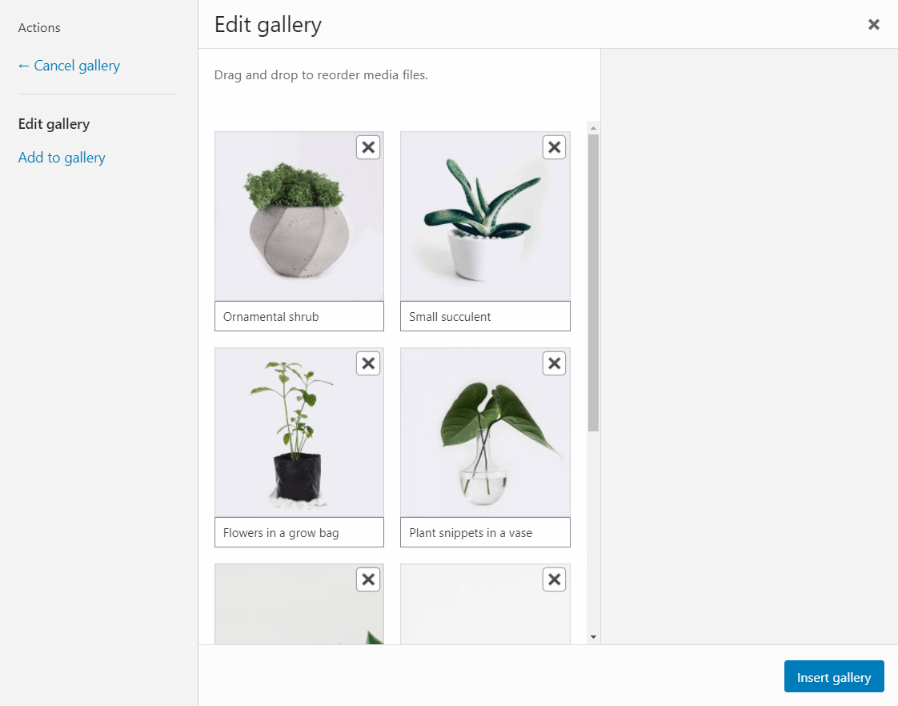
You’re now looking at the Edit Gallery screen. From here, you can perform several actions such as reorder photographs with the drag-and-drop images feature, add more images, give each image a title, and so on:
- Once the images appear in the correct order, and you’ve updated the settings to your liking, click Insert gallery.
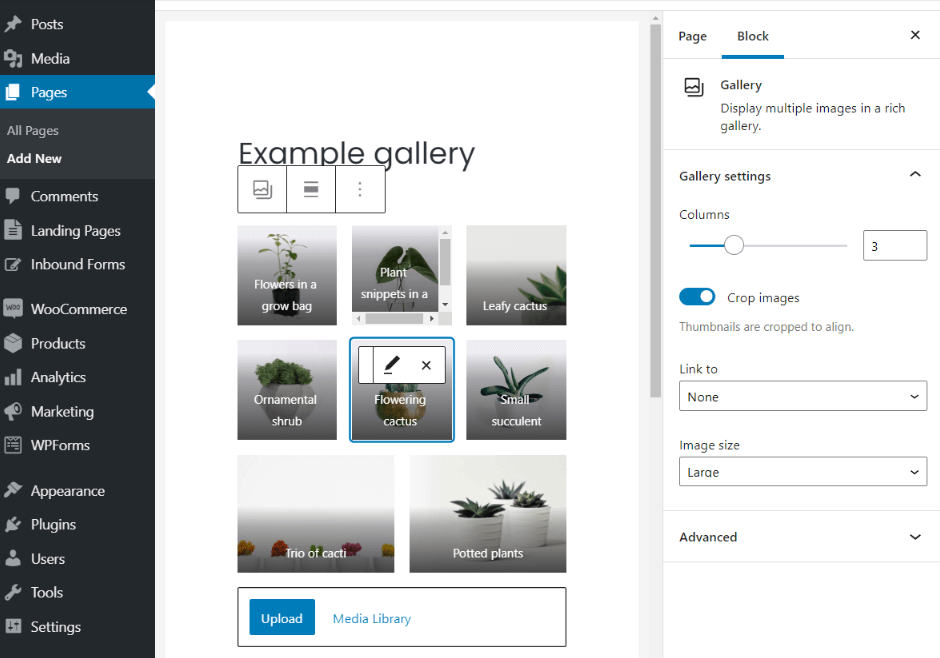
- Your gallery will now appear inside your post or page as a bunch of thumbnails. At any point, you can edit the gallery by clicking a thumbnail. You’ll notice the gallery block settings on the right-hand side of your screen where you can:
- Toy with the numbers of columns per row
- Enable or disable the Crop images option
- Choose where to link your gallery images.
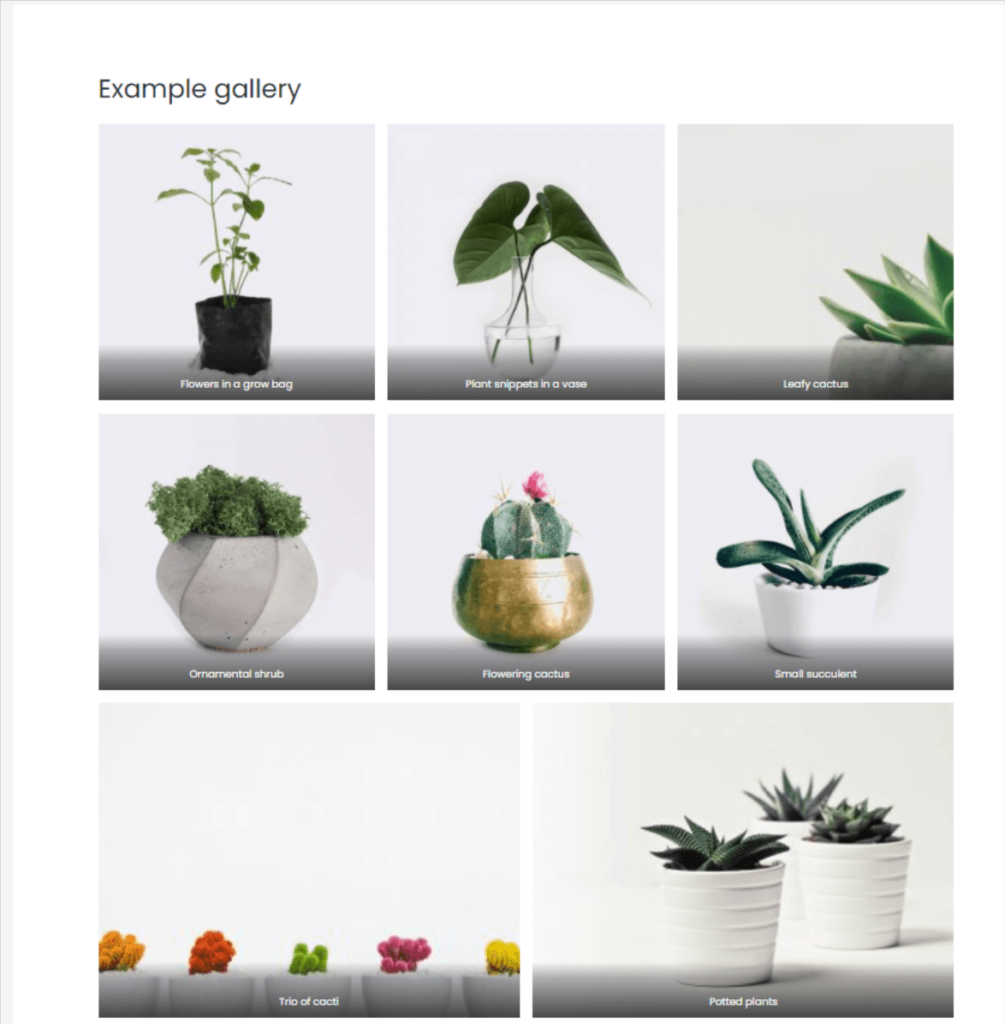
Once you’ve worked through the settings and are happy with the look, it’s time to publish and preview the gallery on your live website. Here’s a snapshot of the cactus gallery built following this tutorial.
This method was quick and pain-free, and the result looks pretty good. However, several essential features are missing from the native WordPress gallery. For example, your images will either open on a new page or not be clickable at all.
Whatsmore, your gallery’s appearance depends on your WordPress theme, and in most cases, you get just one generic style. And since your gallery isn’t stored anywhere, to use it again — somewhere else on your site — you’ll have to start from scratch and recreate it.
For more control over the galleries on your site and a more professional look, a Gallery Plugin is a must in our view.
WordPress Gallery Plugins
To supercharge your WordPress images, a feature-rich gallery plugin is the right way for you. The WordPress plugins market is flooded with stunning gallery plugins to explore. For this demo, we’ll use Envira Gallery, a favorite of photographers, designers, and software developers.
- Download and activate the Envira Gallery plugin. You’ll notice a new tab in your WordPress dashboard like so:

Select Envira Gallery and click the Add New button from the drop-down menu. You’re now in the Envira Gallery hub. From here, you’ve got everything you need to create a powerful new gallery.
- Start by giving your gallery a name (type it in the Add Title text box).
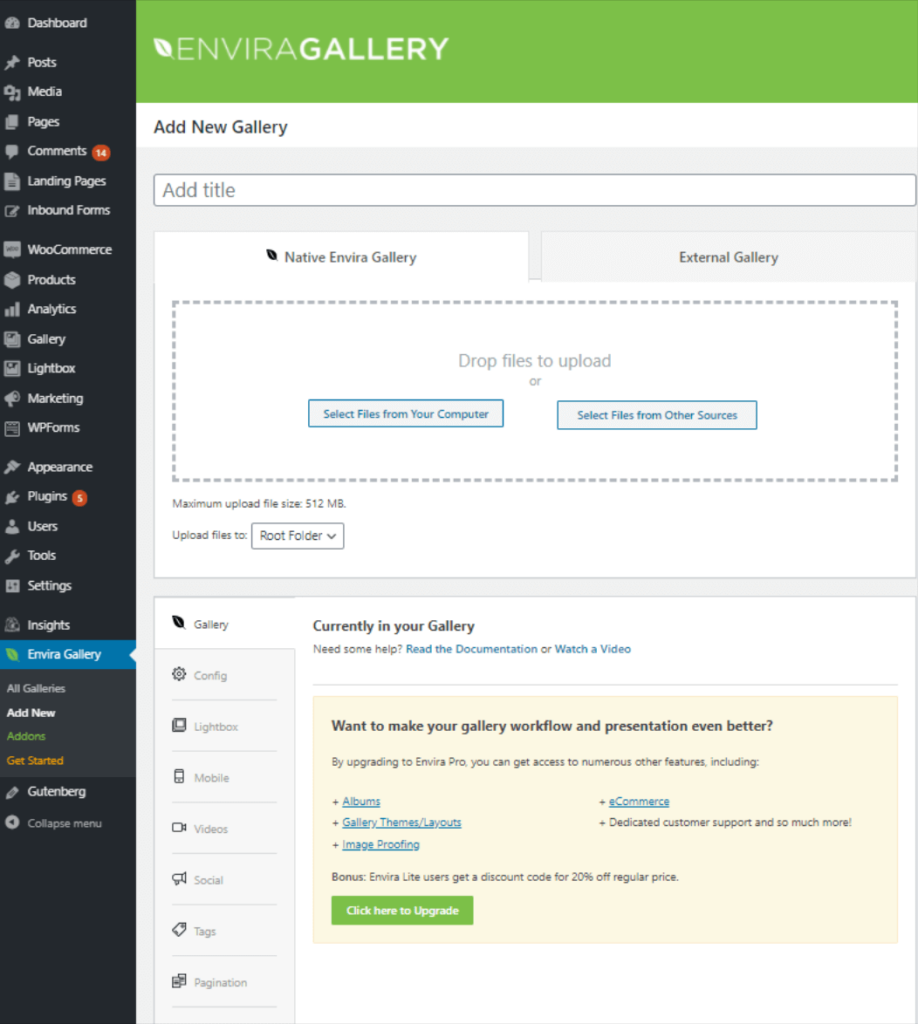
- Next, choose a source to add your media from; your local computer or an existing media library. Either way, you’ll be presented with options to add one or multiple images from your desired source.
Once you’ve selected all the images you want to include, click the Insert into gallery button:
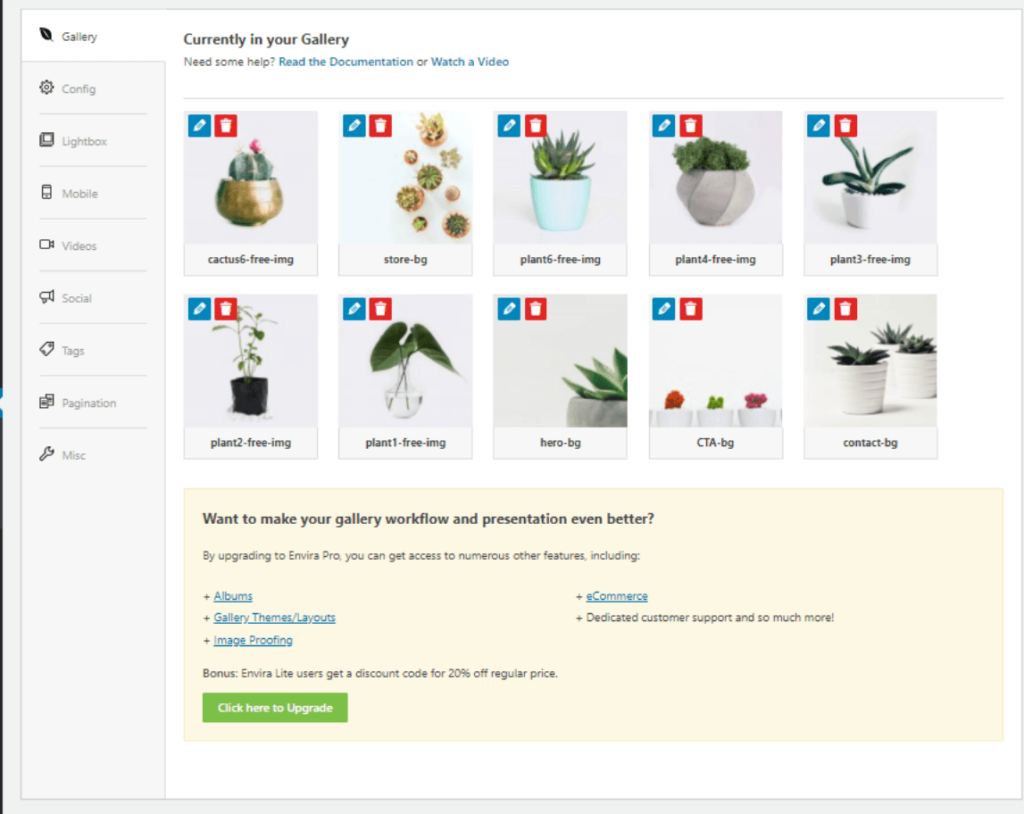
That’s it. You’ve named and created a gallery in Envira Gallery. It’s now time to add it to your website.
Embed your Envira Gallery into a Page or Post
Adding your Envira Gallery to your posts and pages works slightly differently with Envira than the built-in gallery support in WordPress. Your gallery isn’t linked to any post or page yet.
With a simple line of embed code, you can link your gallery on multiple pages (if you want). And any changes made to the gallery will take effect everywhere it appears across your site.
The Envira style of embedding a gallery makes managing galleries far easier, and you get much more control than the bog-standard WordPress Gallery. Let’s get to it.
- Locate the Envira Code box on the Add Envira Gallery Page. Choose one of the first two lines of shortcode to copy
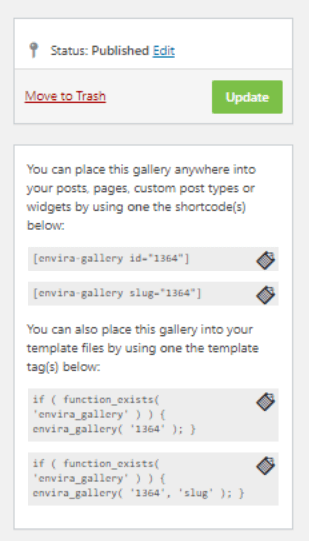
- Copy and paste this code in the content editor of any post and page. That’s everything! Don’t forget to save and publish your changes.
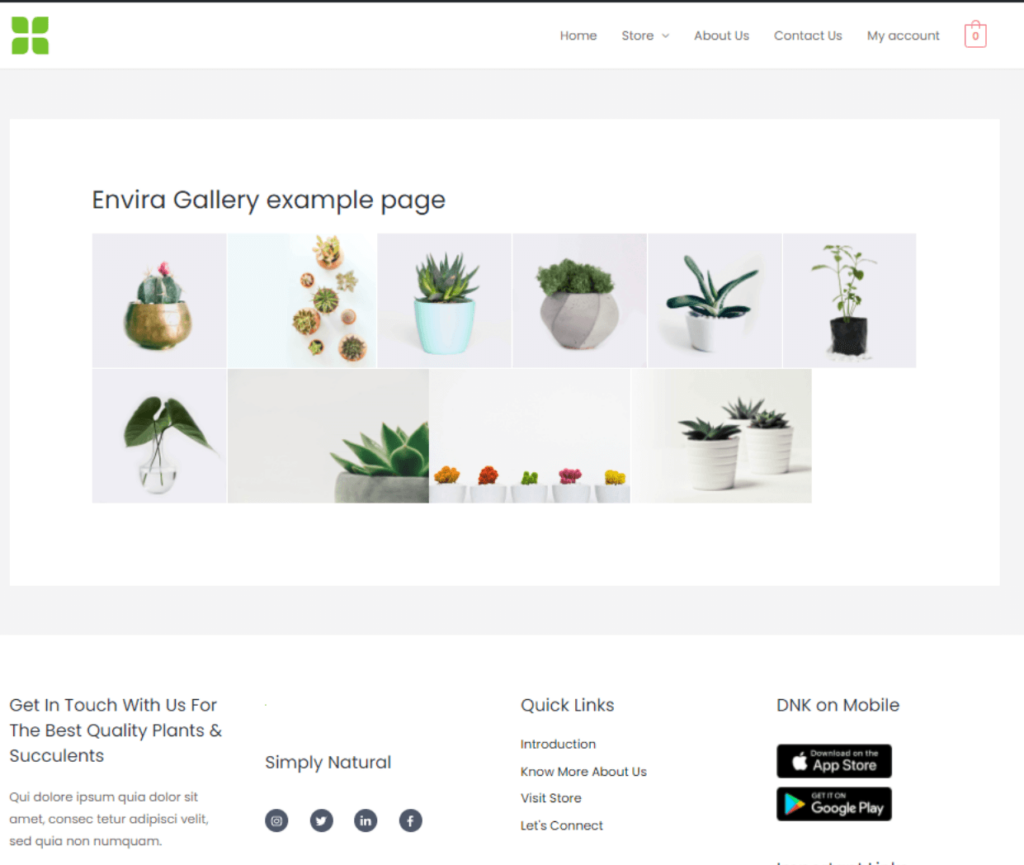
Here’s a peek at the Envira gallery I’ve put together in this demo:
Galleries are just the start
As with everything WordPress, there’s a small learning curve to get the results you’re looking for. But with a little effort, a simple website can be transformed into something spectacular.
As we’ve displayed, the built-in WordPress functionality is fine for basic galleries. If you need some more advanced features and more design options, gallery plugins like Envira are the way to go.
If you’ve enjoyed this tutorial, you might enjoy learning more about the related topics. Check out these articles on the best Photography Themes, adding lightboxes, and where to Find the Best Free Images for your WordPress site.
What’s your favorite WordPress gallery plugin? Let us know in the comments below…
More articles from us!
